
Getting Started


Getting Started Guide
Welcome to your CyberDeck! To get started with your new product, follow these simple steps:
- Unbox your CyberDeck and make sure all the components indicated on the parts list are in the box. You might have to charge the device or in some cases assemble them. If you purchased a CyberDeck MK-I, II, or laptop click on the appropriate tab below and follow the guide. If you bought one of our Portable Cyber Hacking Drives click on the tab below.
Usage
Our CyberDecks are designed to enhance your cyber skills and to be used for entertainment. Here are some key features and tips to help you make the most of your device:
- Customize your desktop: Personalize your CyberDeck by selecting your preferred wallpaper from the included selection or finding your own, arranging icons, and adding widgets.
- Check the provided documentation on Kali desktop, books, shortcut & command sheets, forums, VM, and AI assistant.
- Check out the desktop apps and VirtualBox app setup with Pi OS and iiab (internet in a box) for Offline content and much more.
- Explore the app store: Discover a wide range of applications and utilities in the CyberDeck apt library, browse the forums or Kali site.
- Connect peripherals: CyberDeck supports various peripherals such as keyboards, mice, GPS, long-range WiFi, RTL-SDR, and external displays. Connect them to enhance your workflow or hacking experience.
- Stay updated: Regularly check for software & apt package updates to ensure you have the latest features, bug fixes, and security enhancements.
- There is a backup account for Linux if you forget the password, use user root or live user, and password Kali or BlackArch depending on the OS.
USER: Kali
PW: Kali
BlackArch
USER: BlackArch
PW: BlackArch
Windows
No password
Mac OS
USER: Mac
PW: apple
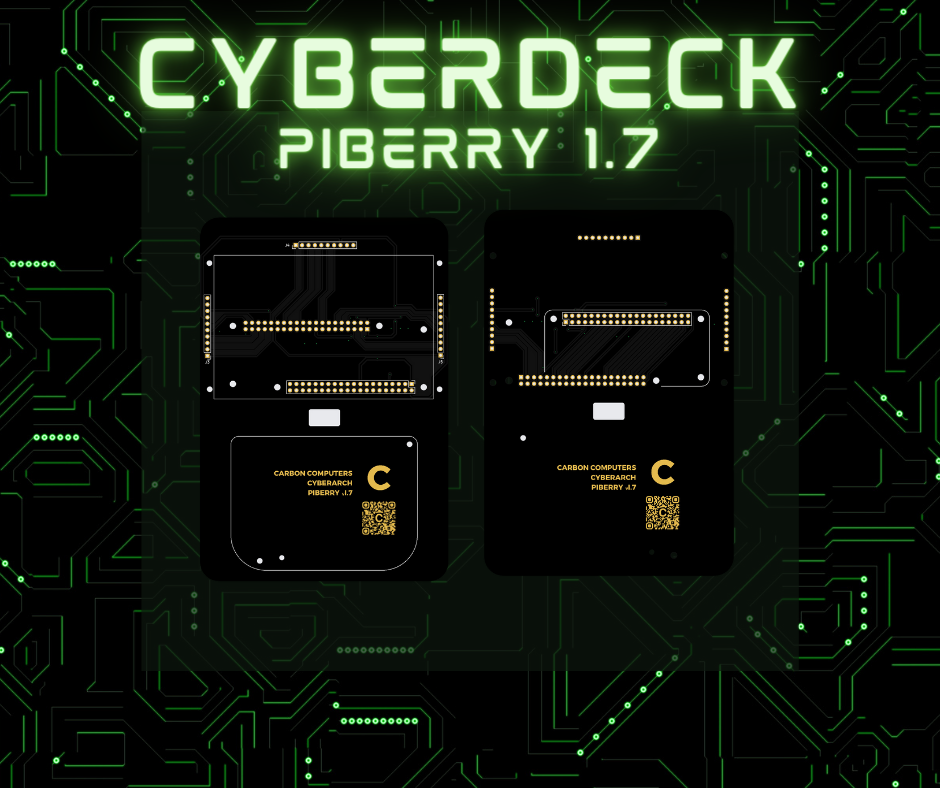
PiBerry v1.x
Welcome to our PiBerry guide. This unit is an enthusiast's dream, a minimalistic open-source Cyber Handheld.
The PCB is compatible with various parts and can be put together with minimal to no soldering. Designed to host a Raspberry Pi Zero (horizontally on the back), with an Adafruit 3.5" display + touch, and a Blackberry keyboard with a trackpad that works like a cursor (links below for parts).
Most phone battery packs should provide enough power for the system (5-V, 1A).
We are working on more advanced releases and pre-built units, as well as an OS package similar to our CyberDecks builds for a more comprehensive set of cyber tools.
Parts List
Pi Zero 2W
Amazon Pi Zero 2W
Pishop Pi Zero 2W
Display
Adafruit PiTFT Plus 3.5" + Touchscreen
Blackberry Keyboard
BB Q20 Keyboard with a trackpad
BB9900 USB Keyboard with trackpad
Tindie.com/bbq20
Lectronz.com/bbq20
Battery
PiBerry 7.5
Getting Started
Follow these steps to set up your PiBerry 7.51. Hardware Setup
If you are installing your own Raspberry Pi Zero or any other SBC, make sure all the mounting pins are properly aligned to each hole before soldering.
If you cannot see the pin through a header hole, then it is not properly mounted!
You can move the board around until all the pins are visible. You can skip this step if the Pi is already pre-installed.
The USB-C port at the bottom powers and charges the Beepy.
Do not power the Raspberry Pi Zero through its Micro-USB port (PWR-IN)
2. Firmware Update
Update PiBerry firmware to ensure driver compatibility and the latest device features:
- Download the latest firmware image
- Slide the power switch off (left if facing up)
- Connect the Beepy to your computer via USB-C
- While holding the "End Call" key (top right on the keypad), slide the power switch on
- The PiBerry will present itself as a USB mass storage device, drag-drop the new firmware (i2c_puppet.uf2) into the drive and it will reboot with the new firmware
- Note: The LED will remain green until the driver packages below are installed and the system has rebooted
3. Choose an Operating System
There are many choices of operating systems to run on your PiBeery, which we tested. If you order from us we can have the SD card ready for use, you may add on your purchase the display model and we can install the drivers. Additionally, we will add our CyberDeck package with tools, to be offered as a separate downloadable package soon.
- Raspbian: a powerful, customizable distribution with all the bells and whistles
- Kali: a slimmed-down Kali Linux version, with many of our favorite hacking tools.
Setting up a Raspbian System
- Use the Raspberry Pi Imager tool to flash an SD card with the Raspberry Pi OS Lite image
- Choose OS - Raspberry Pi OS (other) - Raspberry Pi OS Lite (32-bit) image
- Click the gear icon ⚙ (or press
CTRL + SHIFT + X) to set the username, password, hostname, WiFi, and enable SSH - Make sure your computer and the Pi are on the same WiFi network in order to SSH in later
- Alternativery you can connect the Pi to a monitor and keybaord to isntall the display drivers.
- SSH into your Beepy and install the Display driver package or you may use a display (monitor), and keyboard to install the drivers.
see your display manufacturer manual for instructions - Your PiBerry with is now ready, have fun & share with us! tag us on instagram @carbon.computers
- Review the default symbol keymap
Setting up Kali
- Use the Raspberry Pi Imager tool to flash an SD card
For simple install use the Raspberry Pi imager and select otehr OS and kali for Pi Zero 2 W. Once is done the Pi will boot to Kali, but will need the display drivers for the display you are using.
see your display manufacturer manual for instructions
Review the default symbol keymap
Powering on/off your PiBerry
Long holding the "End Call" key (5 seconds) will trigger the key KEY_POWER and safely shutdown the Pi. The LED will turn red until OS shutdown has completed.
Please wait another few seconds until the disk activity light has turned off to ensure disks are synced.
After shutting down using the "End Call" key, holding the key for 1 second will turn the Pi back on.
CyberDeck MK-I & MK-II
Get started with your CyberDeck! start by connecting the USB-C cable coming from inside the unit to the USB-C port on the keyboard. To power the system ON, connect a USB-C power cable to the PD port on the keyboard. You can use a power bank or a USB-C charger with (45w+).
- The MK-I or MK-II will boot automatically upon connecting power, the keyboard and screen will light up a few times and may say "No Signal" this is normal as the system boots.
- On Windows-powered units, you may have to change the BIOS settings on your first boot as we found on our testing that keeping the BIOS battery causes other issues.
- Windows BIOS setting to be changes is the SATA Operation from RAID to AHCI, click ok and save setting on exit, in some cases the BIOS setting might not take effect the first time.
- If the SATA settings are correct, the system will boot to the RED GRUB menu, now pick the OS you want to use, generally Kali, BlackArch, or Windows.
- If you bought a Mac CyberDeck MK-I or MK-II, hold the ALT key before connecting power, the Mac will boot and display two drives Mac or Macintosh HD and EFI drive for Linux OS.
- Kali OS will have additional tools, documentation, IIAB, forums, and Hackers AI assistant, for best results indicate the OS you are using or the tool you want to use. Example "How to crack a wifi password on Kali".
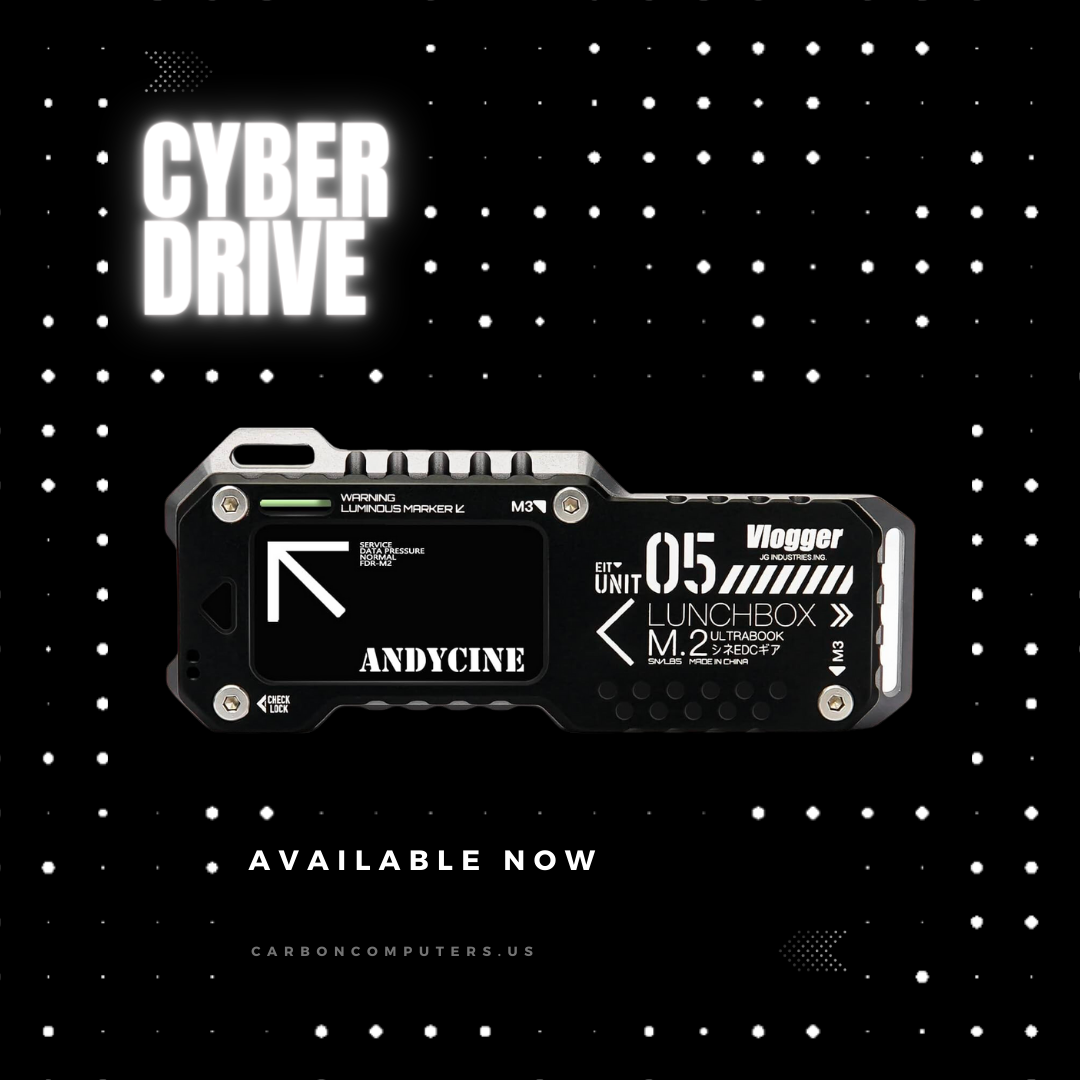
Cyber M.2 & SSD Drives
Welcome to your portable hackers drive, you might have purchased the USB, M.2, or SSD, regardless, the functionality is the same.
First, you may try to boot the drive, on most computers is the F12 key. However, if the boot fails or has errors then it's most likely due to your BIOS settings being on Secure Boot mode. To disable secure boot, you may use the F2, F8, F12, or Delete key upon booting. For more detailed instructions you may google your computer model on how to disable secure boot.
If you are using a Mac simply hold the Option key upon boot.
- To access the documentation, books, and IIAB you will have to boot to Kali with the persistence option. Persistence allows you to have storage and to be able to save changes to the portable drive.
- To boot into persistence (storage) you may select Kali or BlackArch on the RED GRUB menu, then select the second option "boot with persistence". On Kali, it will have another Kali menu with more options, select persistence with no drive encryption. If you use BlackArch select the first option to boot.
- Kali OS will have additional tools, documentation, IIAB, forums, and Hackers AI assistant, for best results indicate the OS you are using or the tool you want to use. Example "How to crack a wifi password on Kali"
CyberDeck Laptop
The get started with your CyberDeck laptop, start by powering up the device. keep the charger handy, you may need it.
Once the system boots it will greet you with the GRUB menu, from there you may select one of the OS installed, generally Kali, BlackArch, Windows.
Kali OS will have additional tools, documentation, IIAB, forums, and Hackers AI assistant, for best results indicate the OS you are using or the tool you want to use. Example "How to crack a wifi password on Kali"
Q & A
Q&A
Here are some common questions and answers about CyberDeck:- Q: Does the CyberDeck MK-II play audio?
- A: Yes, it has built in speakers, it they are not working you might have to change the settings or update the audio drivers, for best audio use bluetooth or USB speaker.
- Q: Does the CyberDeck MK-II have battery?
- A: Not at the moment, but we are working on integrating a battery in the coming months.
- Q: Can I upgrade the storage capacity of my CyberDeck laptop?
- A: Yes, you can expand the storage capacity of your CyberDeck laptop by installing internally a compatible M.2 drive or an external storage device. MK-II with the Windows logic boards can be upgraded as well with M.2 SSD.
- Q: Can I upgrade the storage capacity of my CyberDeck MK-I or MK-II?
- A: You can only upgrade storage on Windows logic board versions.
- Q: How do I transfer files to and from my CyberDeck?
- A: You can transfer files using various methods such as USB, Wi-Fi, or cloud storage services. Simply connect your CyberDeck to the desired device or network, and follow the prompts to transfer files.
- Q: Is CyberDeck compatible with other operating systems?
- A: CyberDeck is powered by its own custom EFI and operating system configuration, which is optimized for its unique features and functionalities. However, it does support other x86 operating systems, you may have to partition the drive and update the grub entry menu on Kali OS.
If you have any other questions or need further assistance, please refer to the documentation or contact our customer support team. We’re here to help!